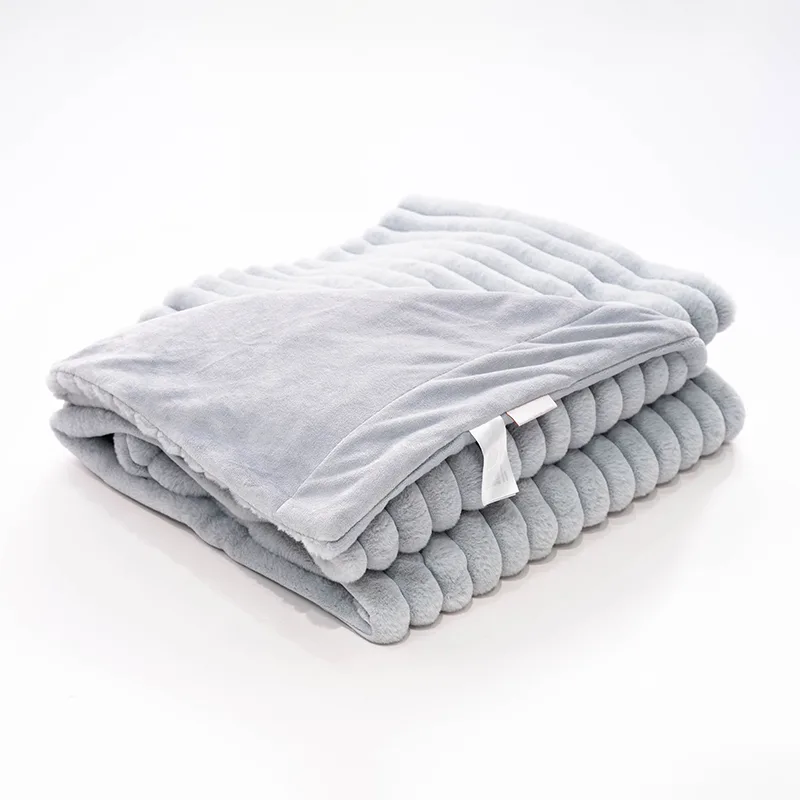
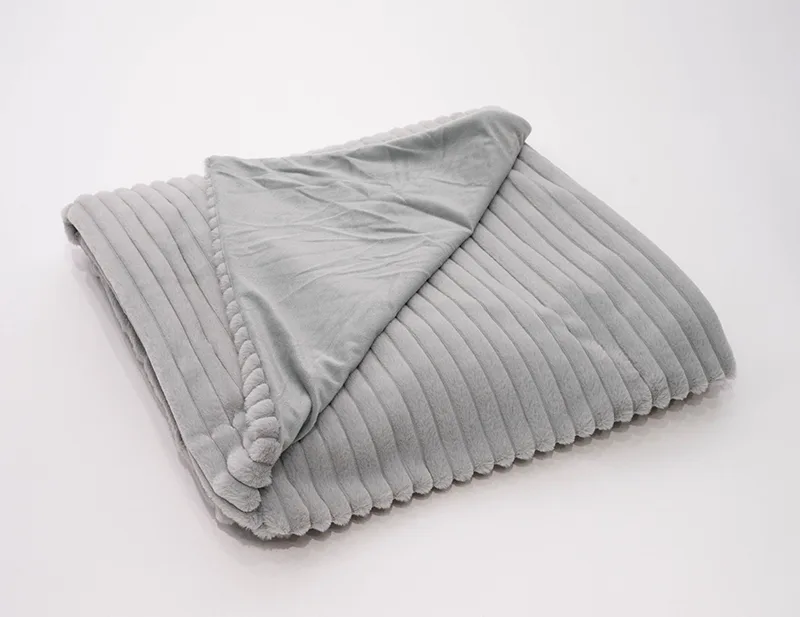
How to Make Fleece Throw Blanket
Creating your own fleece throw blanket is a simple and rewarding DIY project that allows for customization in terms of size, color, and finishing touches. Here’s how you can make one:
Materials Needed
- Fleece Fabric: You will need two pieces of fleece, typically about 2 yards each, in your chosen colors or patterns.
- Scissors: For cutting the fabric and making fringes.
- Measuring Tape or Ruler: To measure your fabric and ensure even fringe lengths.
- Marker or Chalk: Useful for marking measurements on dark fabrics.
Step-by-Step Instructions
- Select Your Fleece: Choose two fleece fabrics that complement each other. One will be visible from the top and the other from the bottom, adding an element of contrast when the blanket is used.
- Measure and Cut the Fabric: Lay out your fleece on a flat surface. Use your measuring tape to measure and mark the desired dimensions of your blanket. A standard throw size is typically 50 by 60 inches. Cut both pieces of fabric to these dimensions.
- Cutting Fringes: Once your fleece is cut to size, cut strips around the edges of both layers of fabric. These strips should be about 4 inches deep and 1 inch wide. Make sure the cuts through both layers are aligned.
- Tying the Fringes: Start at one corner and tie the top strip to the bottom strip with a knot. Continue this around the entire perimeter of the blanket. You can choose a single knot for a flat look or a double knot for added security and texture.
Tips for a Perfect DIY Fleece Throw
- Even Strips: Ensure that all strips are cut to the same width and length for a uniform look.
- Secure Knots: Tie knots tightly enough to hold but not so tight that they bunch the fabric or distort the edges.
- Pattern Alignment: If using patterned fleece, try to align the patterns at the seams for a seamless aesthetic appearance.


